Showing posts with label christmas crafts. Show all posts

Sunday, 23 December 2012

Last minute table decorations, rag-rugging, Christmas 'stocking' decorating, the Christmas tree, and other December activities

Just time for some last-minute making of table decorations.

During a quick trip to the local park this morning we - er - "borrow" some holly, leylandii and ivy.

Using a potato as a base (instead of florist's foam) the potato is wrapped in foil. The kids use a barbecue skewer to make holes before poking in the greenery.


Some garden wire and bows made of leftover ribbon give it a more professional look.


While scrabbling around in the loft I re-discovered some rag-rugging attempts.


This week the kids have started their own rag rugs. These will probably end up in the loft after Christmas, but perhaps one day they'll be finished.


In the afternoon the kids decide to decorate small hessian onion bags with felt and ribbon shapes to make Christmas 'stockings'.


And yesterday we celebrated ds1's 14th birthday. No photos allowed on here (by his request. Where did my little boy go? ;)


In the past week or two...

Dd decides to make a cat tile to go with our others that reappeared during our pre-Christmas tidy up.


We sow cress, mustard, broccoli and alfalfa sprouting.


The Christmas tree gets decorated


Ds1 makes this year's Christmas cake. Now marzipanned, but still to be iced.


The kids open some discounted body parts (models)


Intestine-man causes some problems, but eventually we jam in all his internal organs and shut them in with his ribs. (No doubt at some time in the near future his ribs will give way and fire his guts across the room).


More microscopy


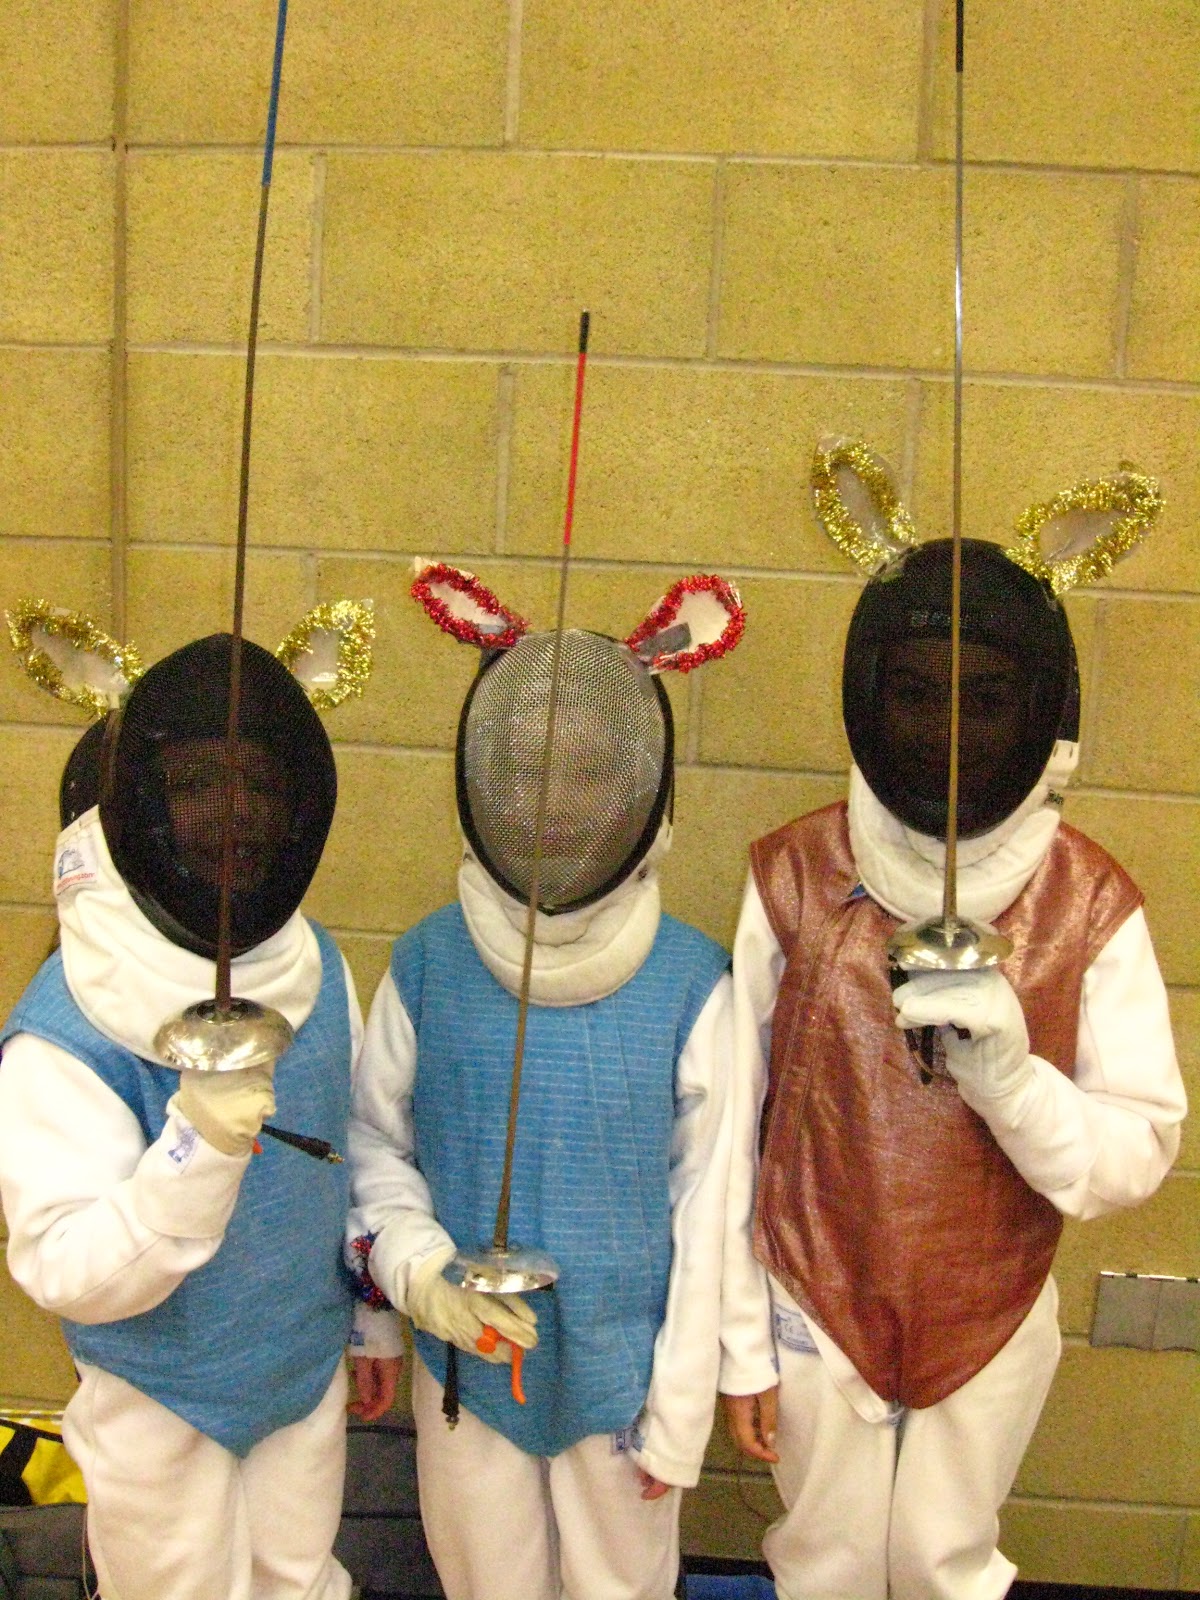
And at the beginning of December, a Christmas fencing team competition


Wednesday, 14 December 2011

Easy Peasy Christmas bunting

We were in need of some new Christmas decorations and were shown how to make these by another home edder at a home ed group. Really really easy bunting!

First cut squares out of scraps of material. We used pinking shears to reduce fraying, but ordinary scissors are fine too (and the fraying just makes them look authentically rustic!).
The squares don't have to be a particular size (2-3 inches square works fine with thinner fabrics, you can go larger with stiffer fabric (light fabric tends to flop a bit if squares are large, as we discovered!). Vary the sizes and don't worry about making the squares precise unless you are totally retentive.


We used mostly free fabric swatches (checked and silk furnishing fabric samples) so the material was stiffer and worked well.


Use an ordinary running thread to sew diagonally across the square. We used our hand-cranked sewing machine which is evil, but easier for the kids to control than my equally evil electric one. Don't fasten off, just keep going.

Sew a couple of stitches after you come off the diagonal point and then tuck the next square in and carry on going. Having a couple of stitches between squares helps them to twist and spin a little.


We found some shiny fabric and popped that in as well to make it look a bit more Christmassy.


When you get to the end of all your squares just do a few stitches back the other way and fasten off.

You can choose to have short bunting strands and hang them vertically, or do like we've done and make a super-long string of them to go across the room in a zig zag.

The photos don't do them justice, but you get the idea.

Like I said - easy peasy! (And a good way to use up those not-so-nice fabric scraps that you can't bear to throw away)


(Spot the lovely hanging paper Christmas tree we got from Wilkos this year only £1!)

This year's bunting hung above last year's strings of pot pourri and little hand-sewn padded hearts: